








PIXLIP POP LIGHTBOX - Assembly Instructions
Overview
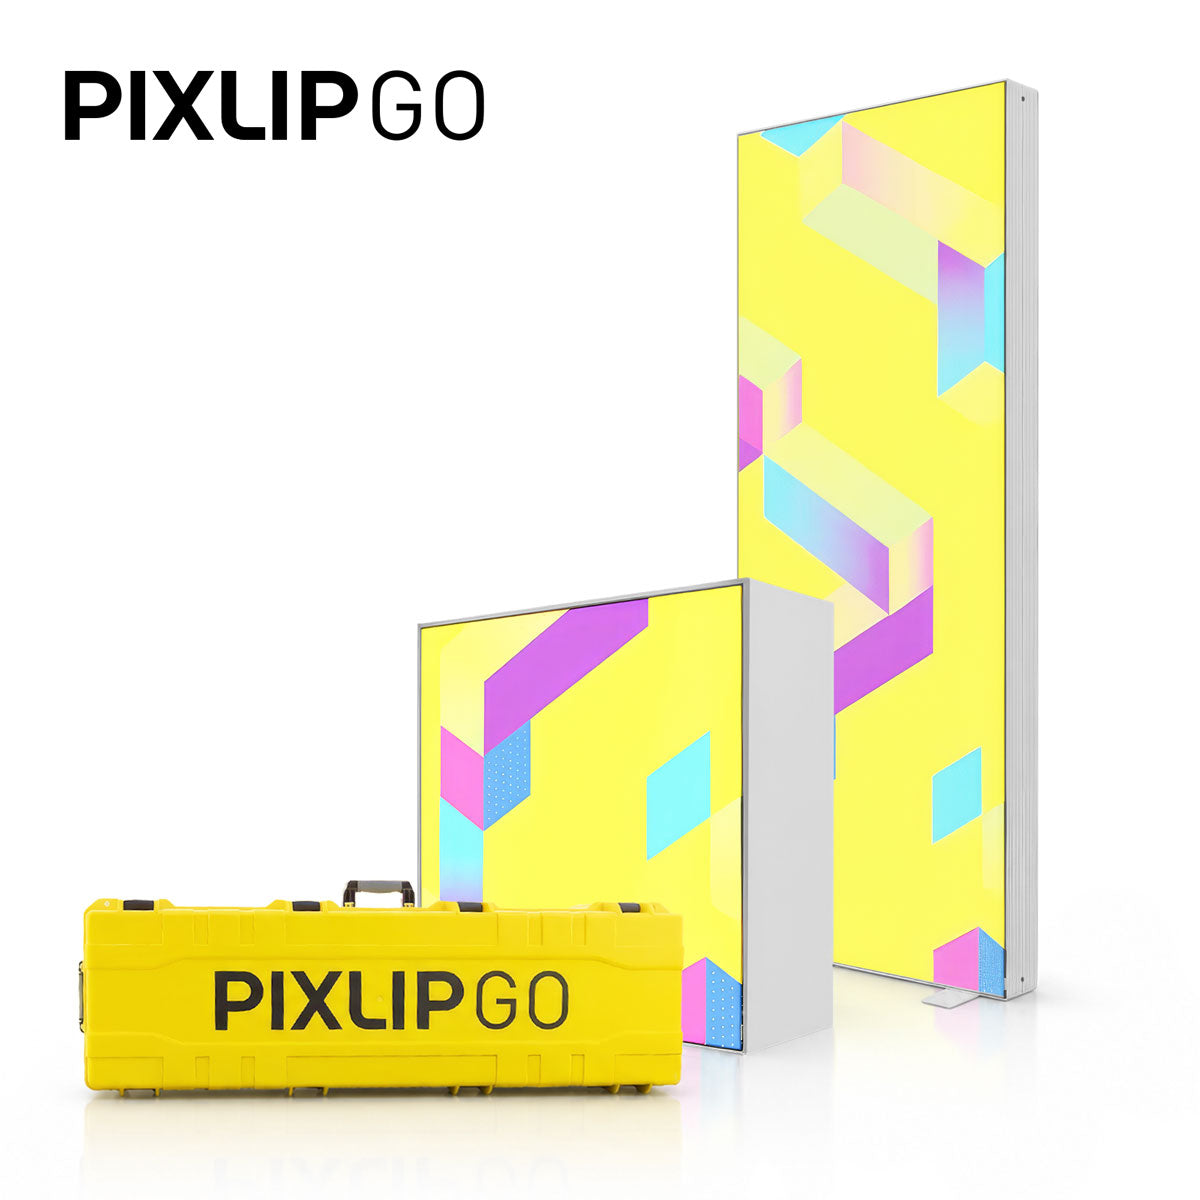
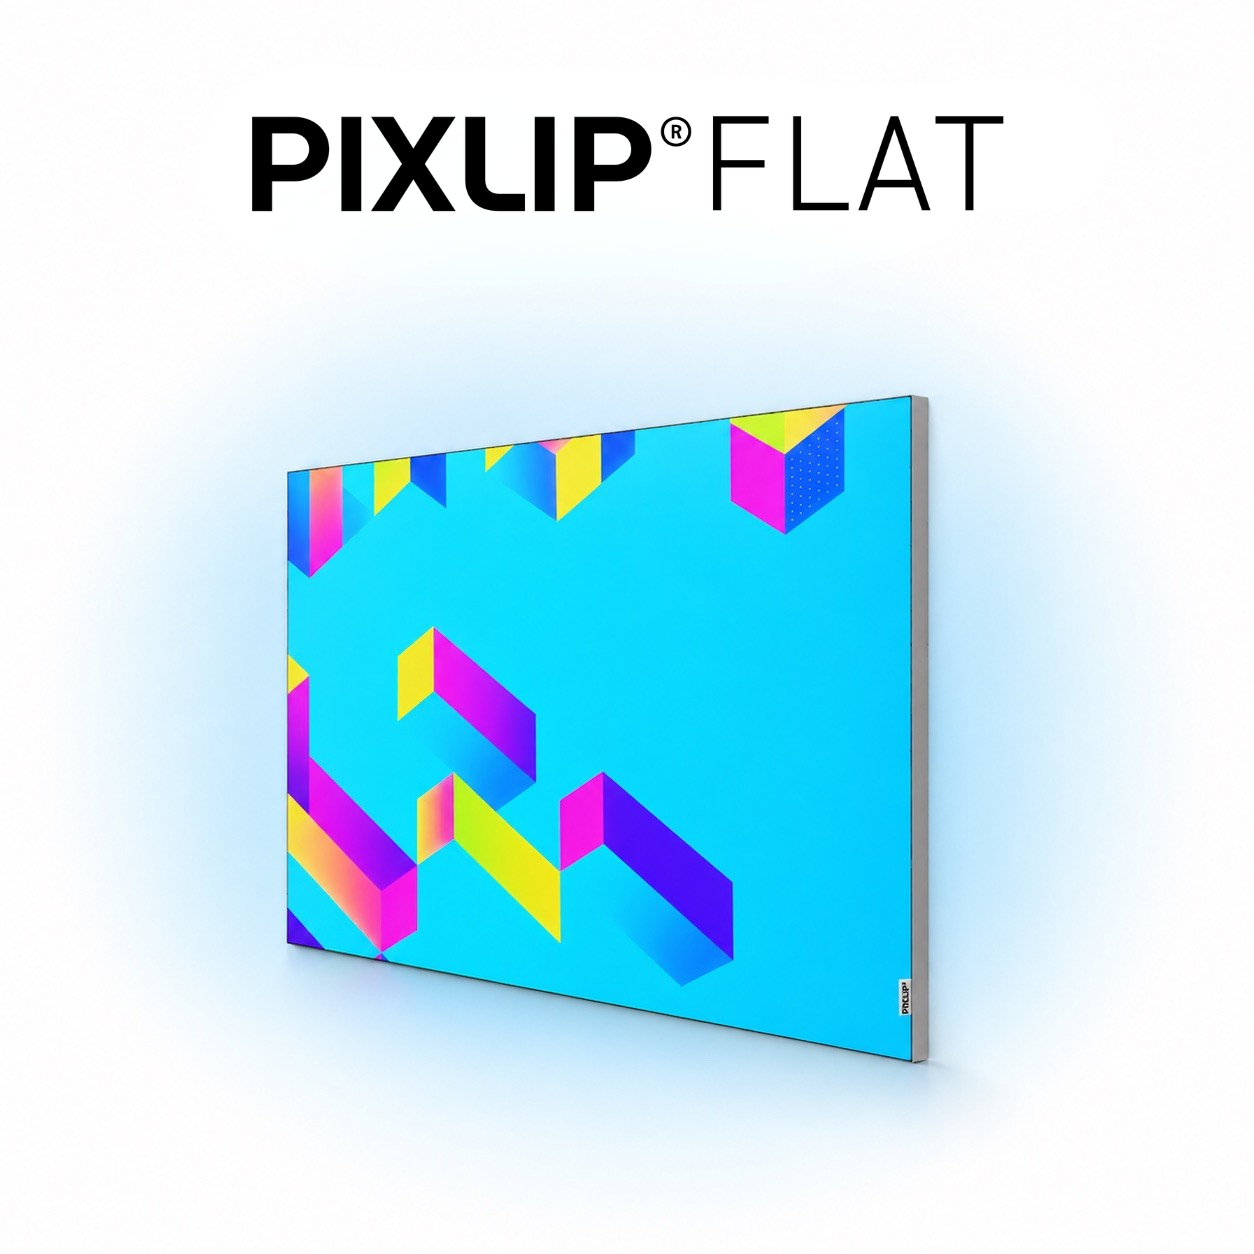
The PIXLIP POP Lightbox is a sustainable alternative to the classic roll-up: lightweight, modular profiles, integrated LED backlighting, and a printed textile that can be stretched quickly. The clever part: the entire setup is tool-free and takes just a few minutes, making it ideal for trade shows, events, and POS.
Scope of Delivery and Preparation
Before you start, lay out all the parts in an organized manner. Typical components include:
- PIXLIP POP components (base plate with fold-out feet, side elements, corner connectors, upper roof elements, longitudinal and cross connectors)
- Back textile with integrated LED strips
- Printed front textile with a silicone lip for insertion
- Power supply included in the delivery
- Flat, stable work surface and some space for spreading out the parts
Step-by-Step Assembly
-
Prepare the components
Lay out all parts from the transport bag on a flat surface. This makes it easy to identify the base plate marked with number 1 and the fold-out feet. Check that all corner connectors and profiles are present and that the color-coded letters on the profiles match.
-
Insert the base and roof elements
First, set up the base plate (marking 1) and insert the matching corner connectors into the corners. Then do the same with the roof element (marking 2). The parts can be pressed firmly into place and snap in securely.
-
Attach the side profiles
First slide the lower halves of the side profiles over the base plate and let them snap into place. Make sure that the colored letters on the profiles match up - this makes assembly intuitive and prevents incorrect combinations.
-
Install the longitudinal and cross connectors
Insert the two lateral longitudinal connectors and connect them with the crossbar in the center. This crossbar provides stability and keeps the frame straight, especially when the textiles are tensioned later.
-
Install the upper profile and corner connectors
Attach the upper side profiles. Again, the colored letters must match. Finally, insert the upper profile with the corner connectors - your frame is now complete and stable.
-
Insert the back textile with LED strips
Place the back textile on the frame. Make sure that the cable emerges at the base. Start at the corners and attach the fabric step by step. The integrated LED strips are already attached to the textile and will later create even backlighting.
-
Insert the printed front textile
Turn the frame over and start at the corners again. Insert the silicone lip of the printed textile into the profile groove and press the lip firmly into place all the way around. The silicone lip makes stretching easy and ensures clean edges and a wrinkle-free fit.
-
Stand it up and connect it
Pull out the feet, stand the Lightbox upright, and make sure it is straight. Then connect the power supply and plug it into the socket. Once everything is in place, your PIXLIP POP is properly assembled, stable, and ready for use.


