

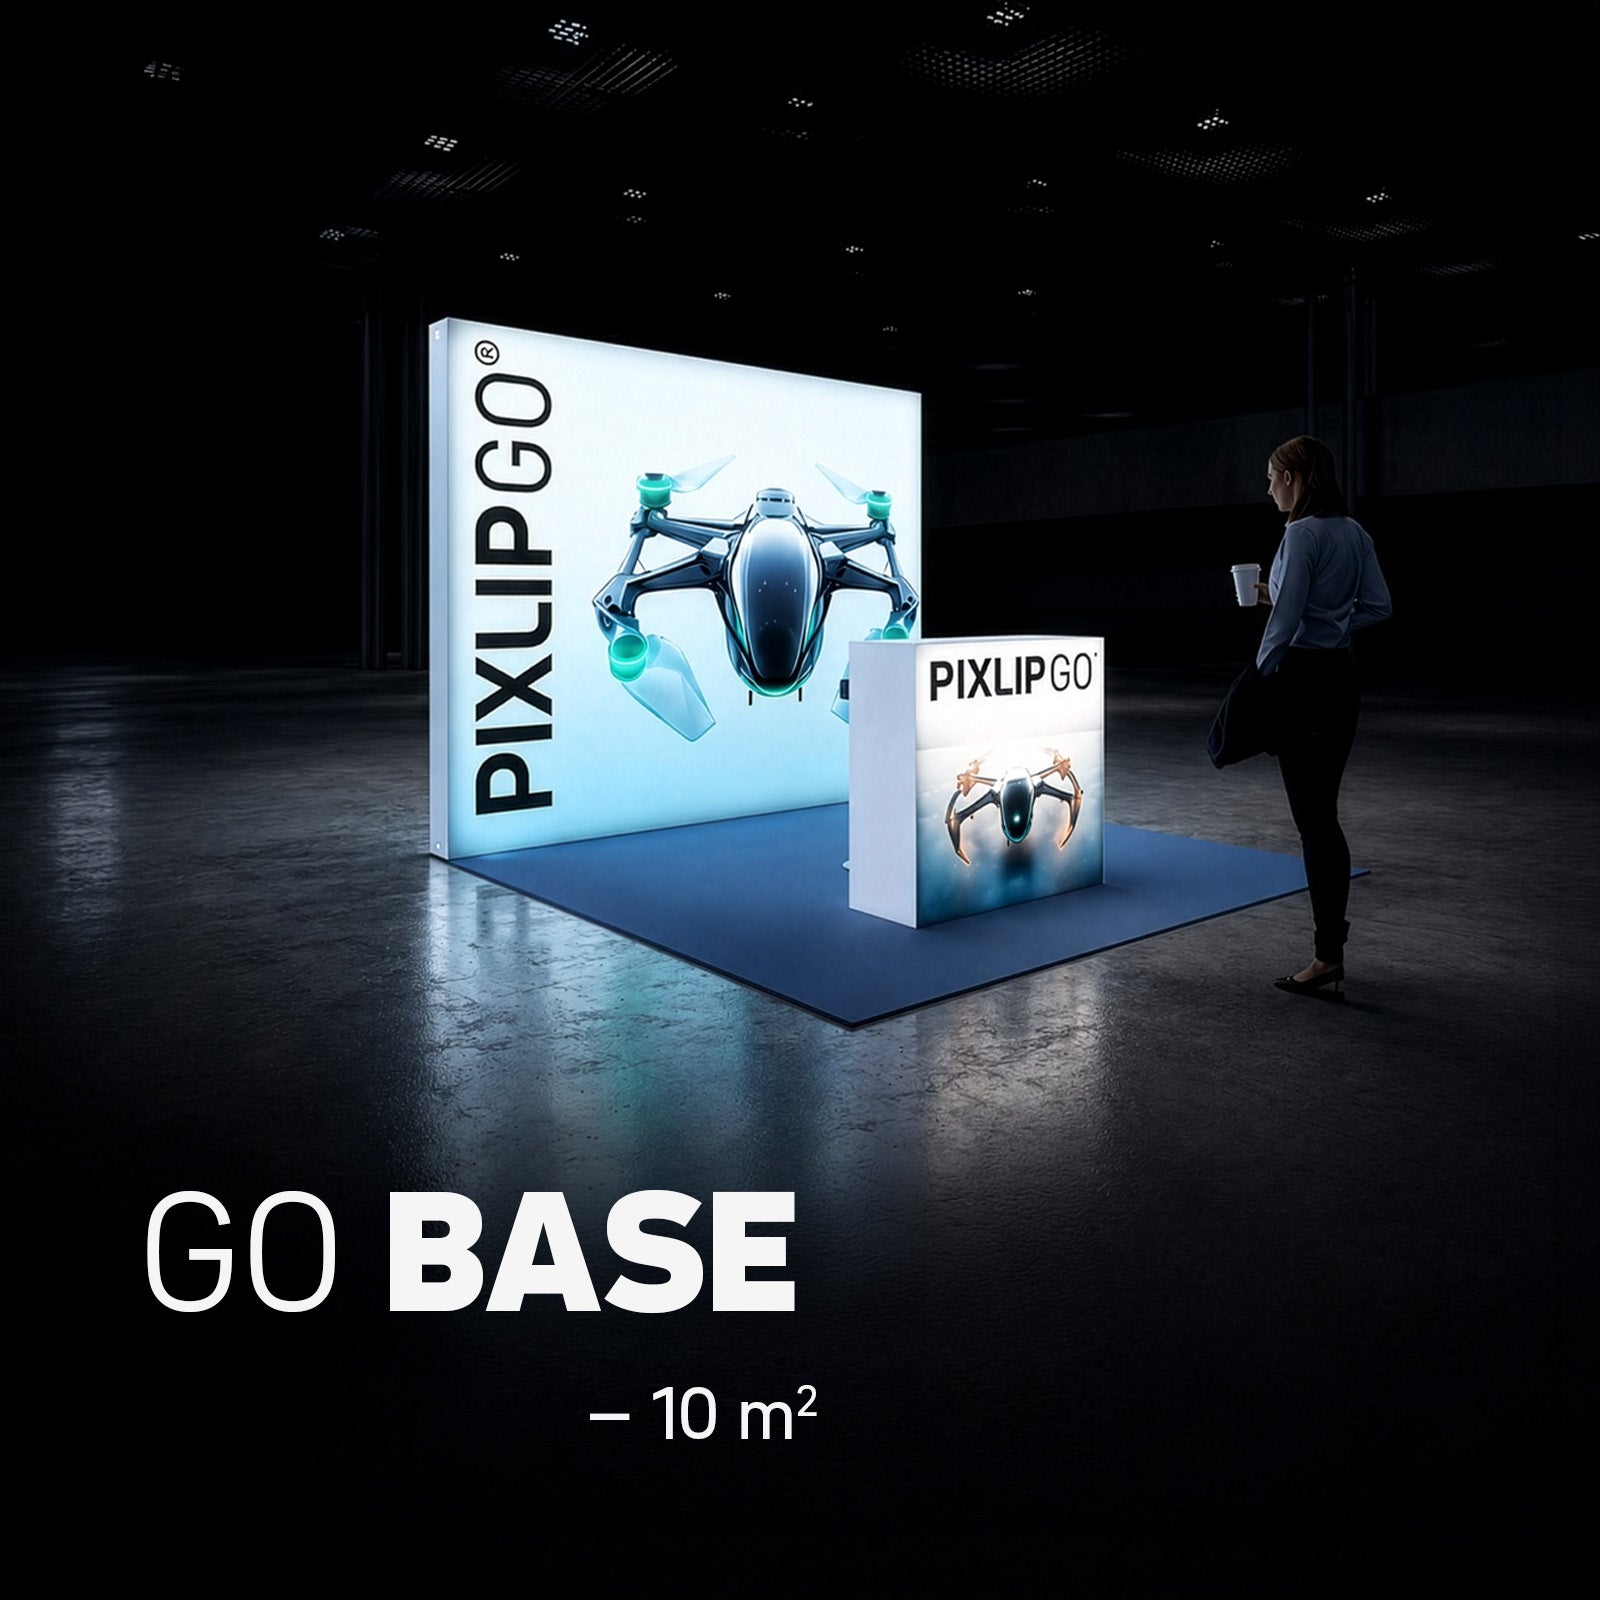


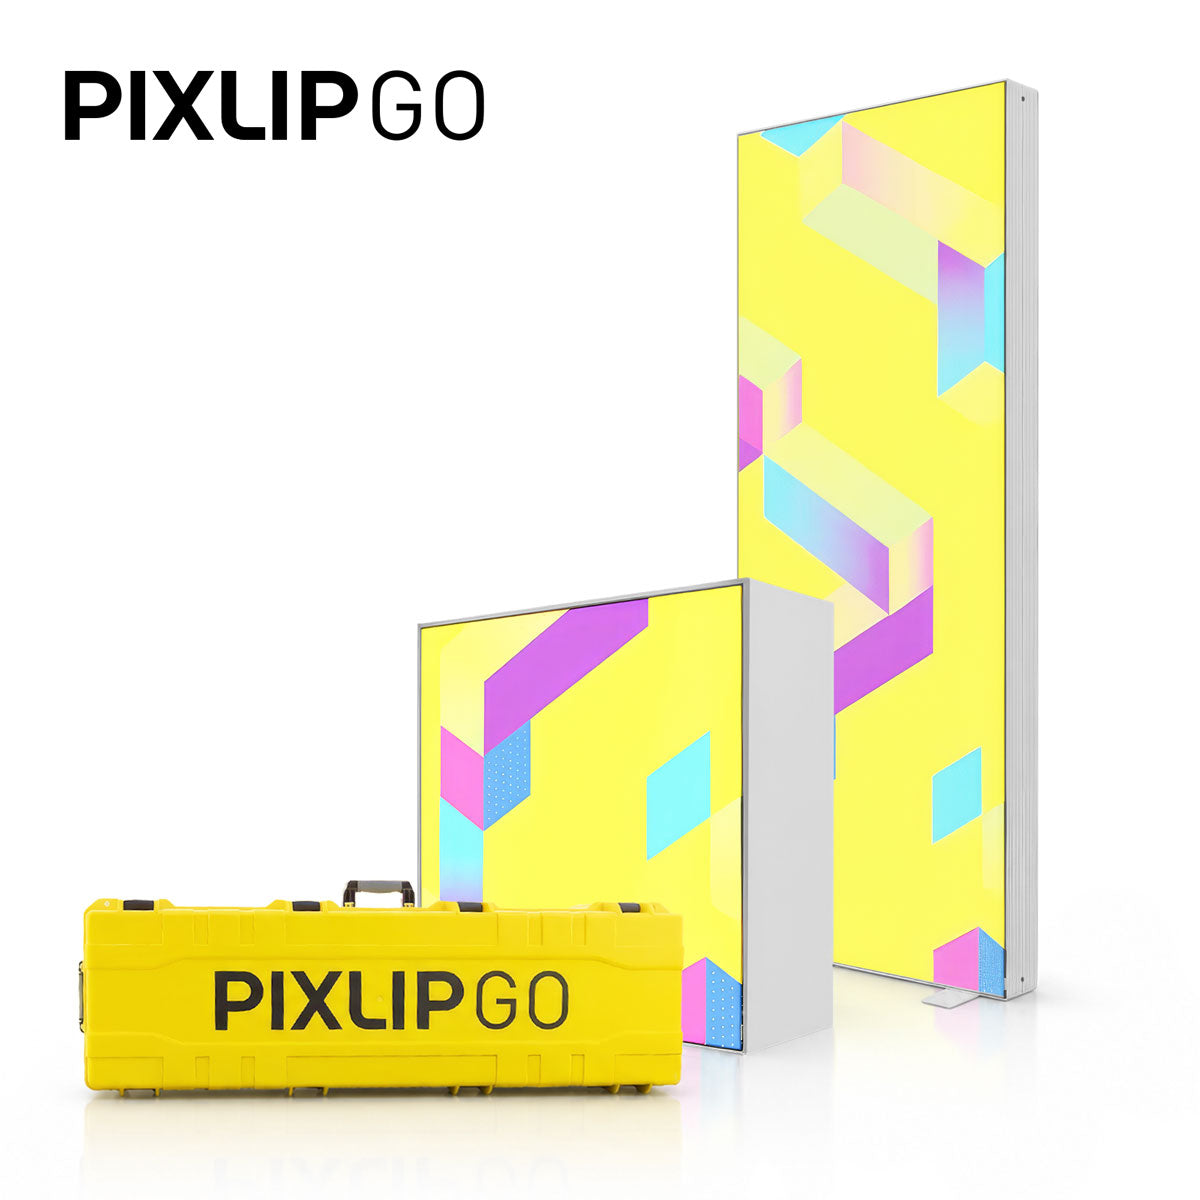









PIXLIP GO COUNTER L - assembly instructions
Quick overview
The PIXLIP GO Counter L is a lightweight, easy-to-transport trade show counter system with integrated LED lighting. The construction is tool-free and modular, and can be assembled and disassembled quickly. This guide takes you step by step through the assembly and provides practical tips for a wrinkle-free graphic and reliable power supply.
Included components and preparation
Before you start, lay out all the parts in an organized manner. Typical components include:
- LED profile (bottom)
- Profiles (with and without power supply)
- Corner connectors for the frame
- Cable for connecting the power supply and the LED module
- Pixel-Print clips and silicone edge for the textile
- Printed textile (graphic)
- Blockout (back)
- Cover panels, wooden dowels, side walls, shelves
Step-by-step assembly
-
Assemble the frame
First, insert the corner connectors into the LED profile. This profile will later form the bottom of the Counter.
-
Prepare the top profile
Repeat the previous step with one of the two profiles without a power supply. This profile will later be positioned at the top of the Counter
-
Insert side profiles and position the power supply
Add the two side profiles. Position the power supply on one side (right in the example) and connect it to the power cable. Use the spiral cable to supply power to the LED profile. A brief light test is recommended before final fitting.
-
Fit the textile (back first)
Pay attention to the orientation of the back: the opening in the printed graphic must face downward so that the cable feed-through fits. Start at a top corner, press the silicone edge first into the Pixel-Print clips and then into the groove of the frame. Work slowly and evenly until the textile is smooth and wrinkle-free. Feed the power cable through the hole to the outside.
-
Fit the graphic on the front
Once the back is correctly in place, fit the printed graphic on the front using the same principle. Once both sides are secured, the lightbox is stable enough for the next steps.
-
Install upper counter panel
Turn the box on its side and slide the large upper cover panel with the short overhang facing forward into the groove of the frame. The attached metal rail ensures a secure fit.
-
Insert wooden dowels and install side walls
Turn the box so that the header panel is at the bottom, and press the four wooden dowels into the pre-drilled holes in the panel. Then slide the side walls with their metal rails into the grooves of the side profiles.
-
Insert shelves
Insert the shelves on the back of the counter.
-
Final light test
Connect the power. The front now shines at full brightness. Your GO COUNTER L is fully assembled and ready for use.


