








PIXLIP EXPO LIGHTBOX - Assembly instructions
Quick overview
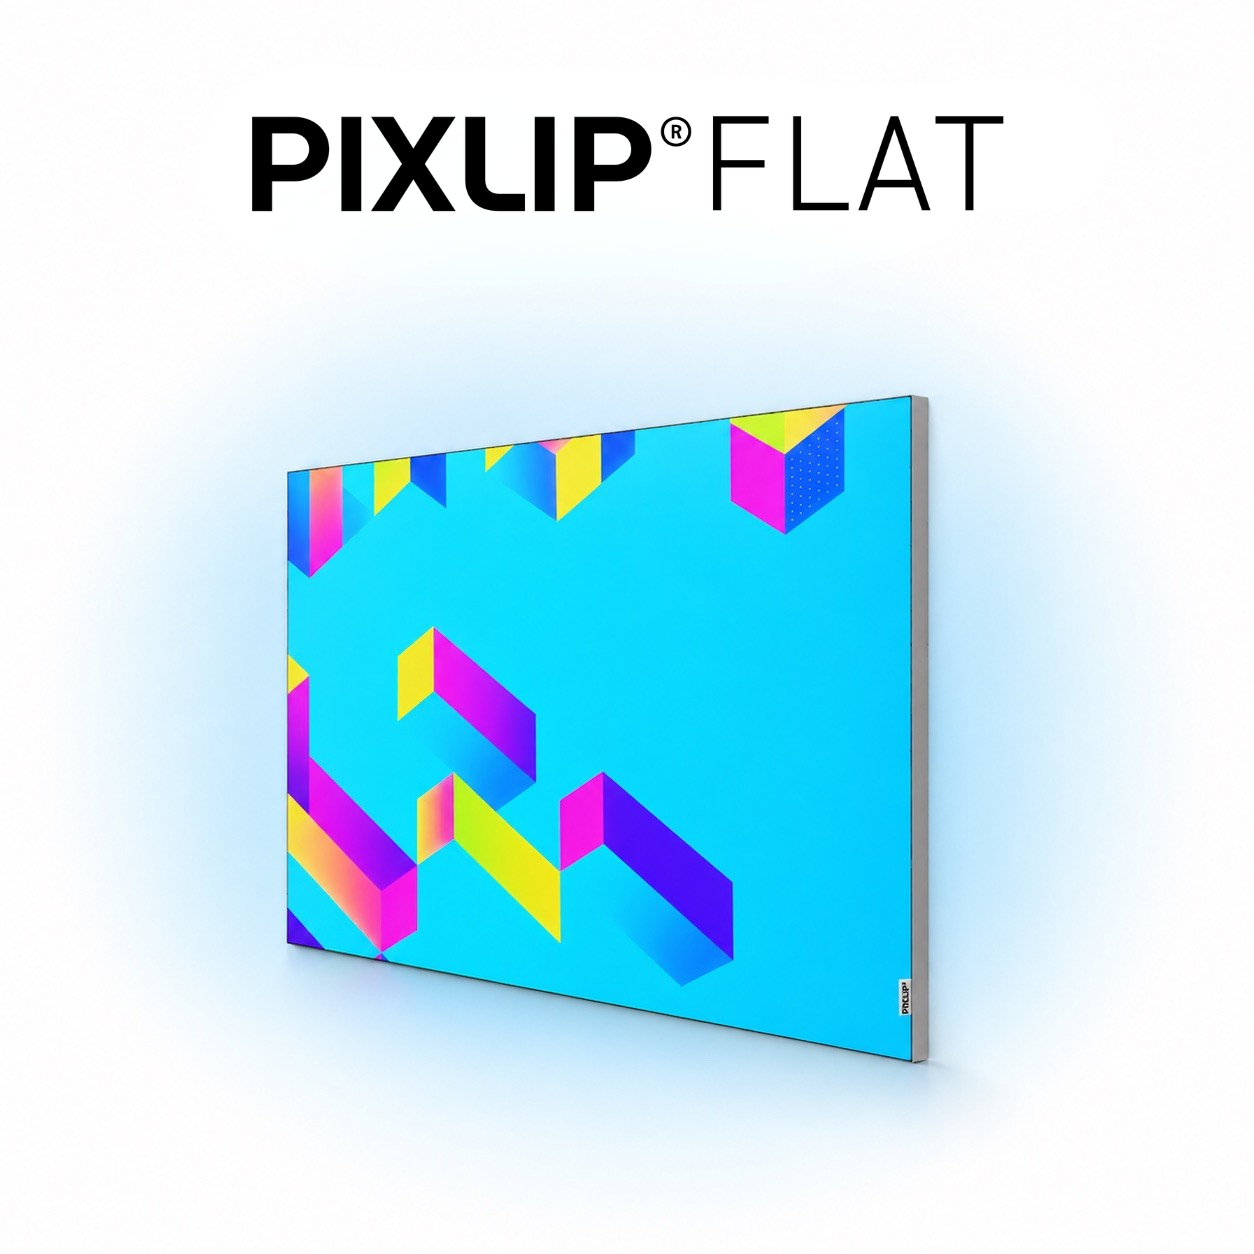
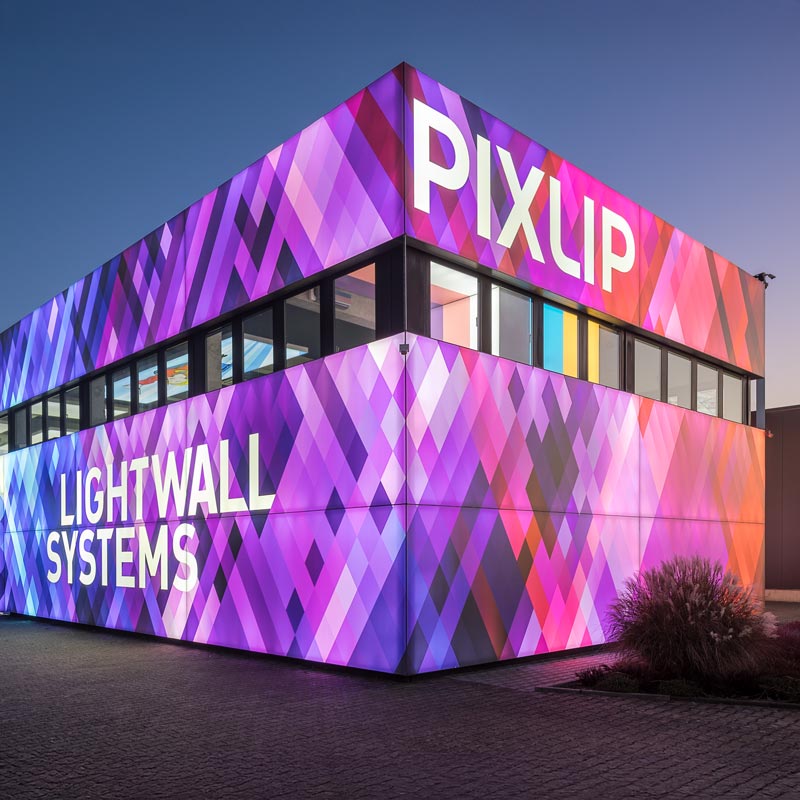
The PIXLIP EXPO Lightbox is a modular, tool-free solution for attractive brand presentation at trade shows and events. These instructions provide a concise, practical guide to assembling the aluminum frame, installing the integrated Pixel LED modules, connecting the cables, and tensioning the printed fabric so that the Lightbox illuminates cleanly and evenly.
Scope of delivery and preparation
Before you start, lay out all the parts in an orderly manner. Typical components include:
- All Lightbox components
- Profiles (with and without power supply)
- Expo corner connectors
- Y-cable
- Connection cables
- Plastic nuts
- Fabric (with keder)
- Pixel LED modules
Step-by-step assembly
-
Preparation and initial frame assembly
Have all the parts ready and put on work gloves. Position the bottom profile exactly where the Lightbox will later stand. Slide the Expo corner connectors into the profile on the left and right until they reach the stop. Initially, tighten the large plastic nuts by hand. No great force or tools are required for the complete assembly.
-
Insert the side profiles
Before inserting them, check that the raised nuts in the corner connectors are loose; otherwise, insertion will be fiddly. Now slide the side profiles vertically onto the corner connectors. The system fits very precisely. A slight rocking motion ensures that the mitred edges sit flush and the gap remains minimal. Tighten the nuts by hand again.
-
Top profile and final corner connections
Attach the last profile using the remaining corner connectors. Tighten the screws lightly so nothing slips, and climb the ladder if necessary. For frames of this size, one person is often sufficient; for significantly larger formats, a second person is recommended. Insert the first corner into the upright side profile on one side, then on the other side, until both sides are seated. After pressing lightly, tighten the last nuts by hand. Then use the included Pixelip wrench to properly retighten all eight nuts at the corners.
-
Install the textile (back first)
Pay attention to the orientation of the back: the opening of the printed graphic must face downward so the cable feed-through fits. Start at a corner at the top, press the silicone edge into the Pixel Print clips first and then into the frame groove. Work slowly and evenly until the textile sits smoothly and without wrinkles. Feed the power cable through the hole to the outside.
-
Install lighting
The Pixel LED modules combine the light source and power supply in one unit. They click into the middle groove of the profiles without tools. Plastic clips allow you to move, fine-tune, or remove the modules later. Make sure they are oriented correctly: The connector must be male when the cable is inserted through this connection. Only then insert all modules.
-
Wiring
Route the power cable from the outside through the system opening into the frame and split it using the supplied Y-cable. Start at the bottom and connect the LED modules one after another with the connection cables: connect them in rows, module by module. Use an extension cable to route the wiring upward.
To avoid shadows, click the cable into the profile groove on the side. Then perform a brief light test to ensure that all modules illuminate correctly.
-
Insert printed textile (print)
Begin with the back. Start at a corner at the top and press the silicone edge directly into the frame groove. Work your way down piece by piece so the textile sits smoothly and without wrinkles. Then insert the front: Start in a corner again and pull the printed textile taut.
-
Final light test
Finally, connect the power, and the lightbox will illuminate steadily and evenly. Your EXPO LIGHTBOX is fully assembled and ready for use.


