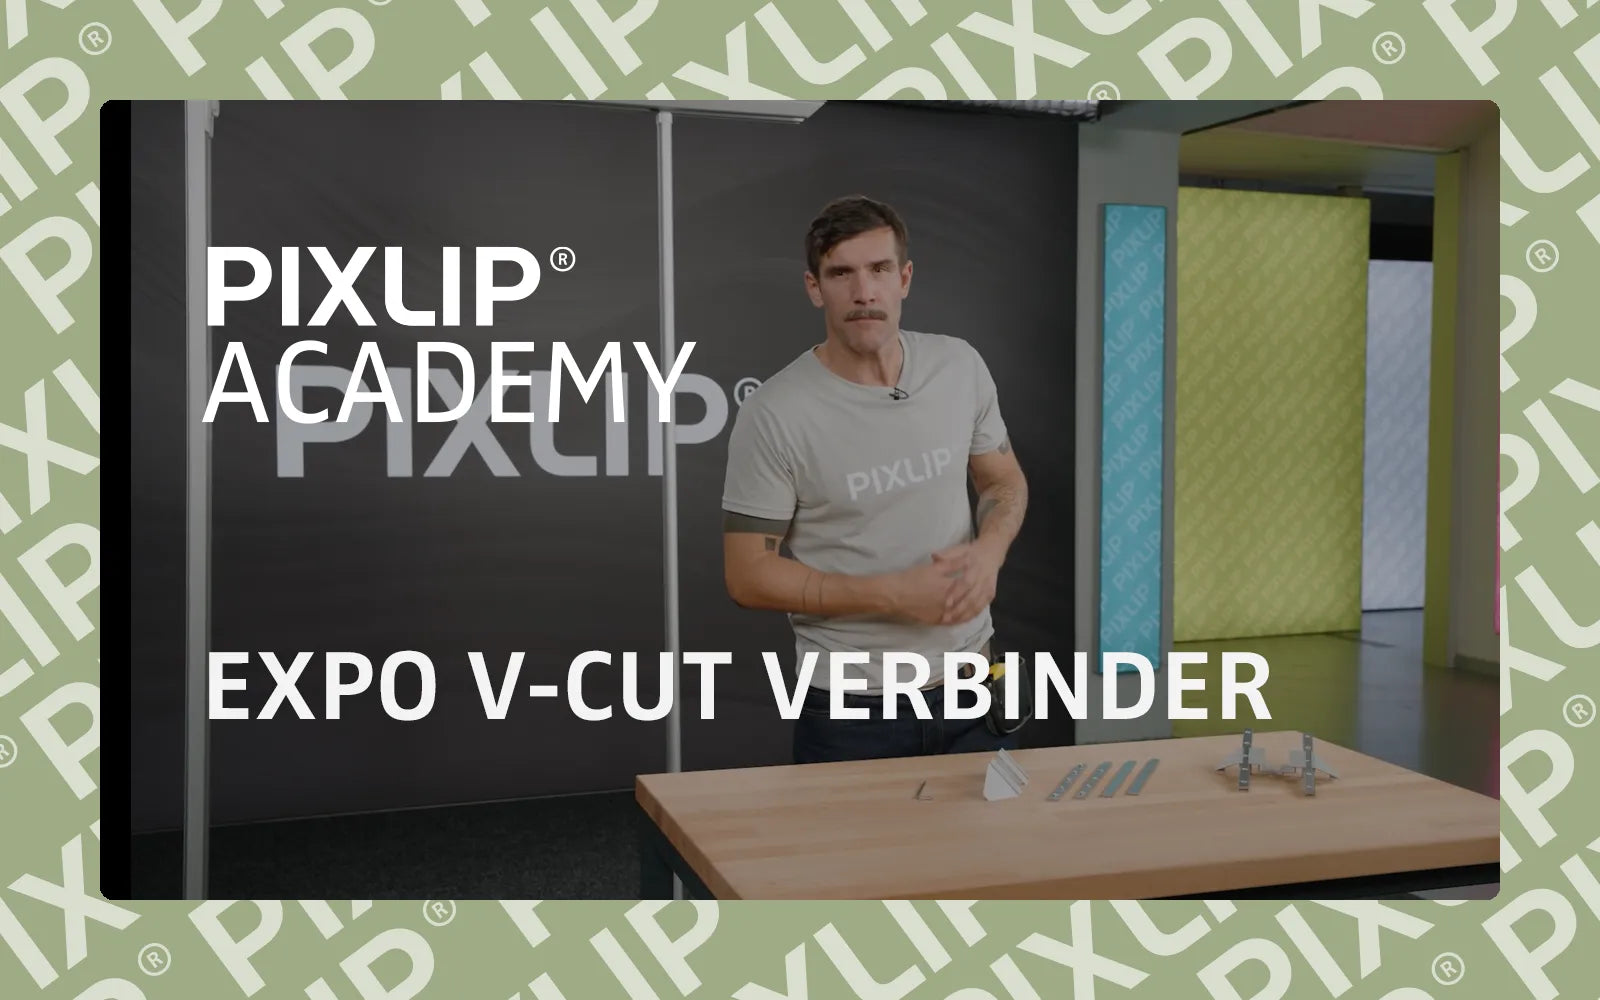










PIXLIP EXPO MOUNTING BOLT - Installation
Brief overview
With the PIXLIP EXPO mounting bolt, you can attach accessories or exhibits directly to your lightbox's aluminum frame - quickly, securely and completely without tools. The system gives you controlled distance from the print, millimeter-precise positioning and maximum flexibility for trade fair and event solutions.
What is the EXPO system?Yes, exactly, what is the EXPO system, anyway? The EXPO system allows various exhibits to be positioned in front of a lightbox print. It uses modular holders that are attached to the vertical struts of the frame. Depending on the position in the groove, the distance to the print changes - practical for various presentation ideas.
Components and preparation
Before you begin, lay out all the components and check that nothing is missing.
- Mounting bolts (create distance and serve as a base for holders)
- Magnetic holders (magnetic attachment for quickly interchangeable elements)
- Two lengths (bolts and magnetic holders are available in two lengths to cover different distances to the print surface)


The holders are attached to the vertical struts. These struts have several grooves: depending on whether you insert the holder into the middle or rear groove, the distance to the print surface changes. That is why two lengths of mounting bolts and magnetic holders are useful.
Step-by-step assembly
-
Installation
- Choose the position: Insert the holder into the groove at the desired height.
- Tighten the wing screw: Secure without tools. Installation is quick and easy.
-
Fine adjustment:
Move the holder and strut continuously and align them with the print to the nearest millimeter.
-
Centering:
For precise placement (e.g. exactly in the center of the X design), move the holder and strut together until they are positioned correctly.
-
Pass-through in the fabric:
Use a utility knife to cut a small cross in the fabric.
-
Screw in the screw and install the holder:
Carefully screw in the screw and attach the desired holder.